Here it is, enjoy:
Monday, 22 September 2014
Making a Tank Game: Part 5: Presenting
Time to showcase the two stars, here is just a render turntable of both the Player Tank and the Enemy tank, i got my friend to do some sounds for the game so I've added the soundtrack and the explosion sound effect to evoke the mood. The video is on my youtube: https://www.youtube.com/channel/UCRmfQ82ZhG_YLOjOF8Wah8w
Here it is, enjoy:
Here it is, enjoy:
Tuesday, 16 September 2014
Making a Tank Game: Some extra background assets
I've done some background assets for the tank game I've been working on, these vehicles are doing to be destructible, the wheat and lampposts will be knocked down upon contact while riding the tank.
Here's a render I've put together to show off the assets I've done:

Basically the pipeline workflow for the vehicles was modelling the basic geometry in Maya for the low poly objects, then adding details such as the lights and grilles, baking in Xnormal then Photo shopping over the Ambient Occlusion. With the lamposts it was similar except i exported the main wooden log into Zbrush then brushed in the wood grains using a clay build-up alpha. For the plants i would model them in Zbrush first, then try to make the lowest possible poly mesh for them to be baked on. The weeds are just planes with alphas, the Wheat stalks are 3-sided meshes.
Trubbish and Garbodor remind me of cookie dough
I remember first seeing these two Pokemon, m&ms embbedded into their doughy bodies. i think they're quite funny looking pokemon in an adorbale way.
So i drew this in my spare time:

Monday, 15 September 2014
Enemy Tank
Same as the Playable tank i stuck with the same pipeline workflow making this enemy tank. The team decided to go with a blue/grey color that would kinda resemble the Russian blue. It is based of a T-55 model tank, but with some details changed and slightly different proportions.


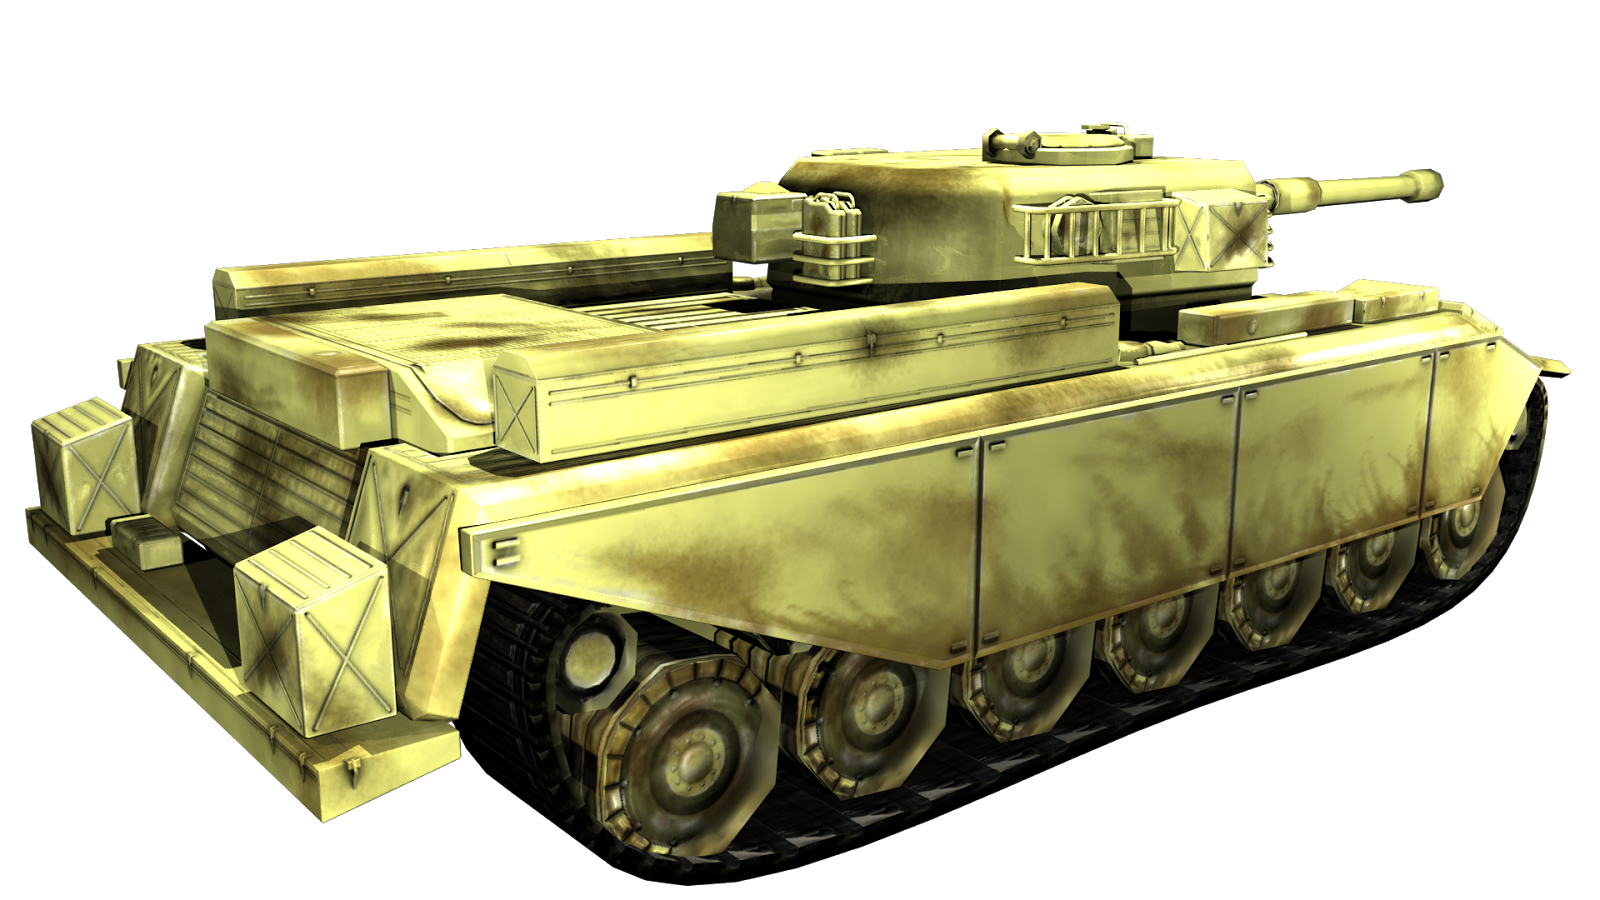
Making a Tank Game: Part 4: Piecing together, Applying Texture, Preparing for Unity Engine
I've added the textures onto the tank, this is the final (hopefully) appearance it will make (we might add camo and logos later on). It was fun to make, after baking the ambient occlusion and normal maps i decided to duplicate come of the crates around the tank to add details, also the ladder rungs you see on the side of the turret is the same object as the cage holding the crates on the side and the handles on the jerry cans, i've just added edge loops then tweaked them. The tank treads animate along a nurbs curve in Maya, they were made from the one tread piece (i baked some geometry onto a simple prism shape), i duplicated them then added a bend deformer to get them to circle around. then i added a wire tool which was a circle shaped nurbs curve, moved some vertices of that nurbs curve untill i got the shape of the treads.


Monday, 1 September 2014
Making a Tank Game: Part 2: Modeling High and Low poly models
 |
| Low poly model ready for baking |
 |
| High poly model ready for baking |
 |
| A series of meshes i used for kitbashing, take note of the tri count in the top left corner, i would copy these to get as much detail as possible on the tank |
Making a Tank Game: Part 3: Texturing the Tank
It's time to texture the tank, i've been working on the separate textures and combining features such as grime, dirt and dents so that the normal map and spec can work well together. I'm hoping with the diffuse i can just add different colors of camouflage to test out which color scheme works best for the in-game build in unity.
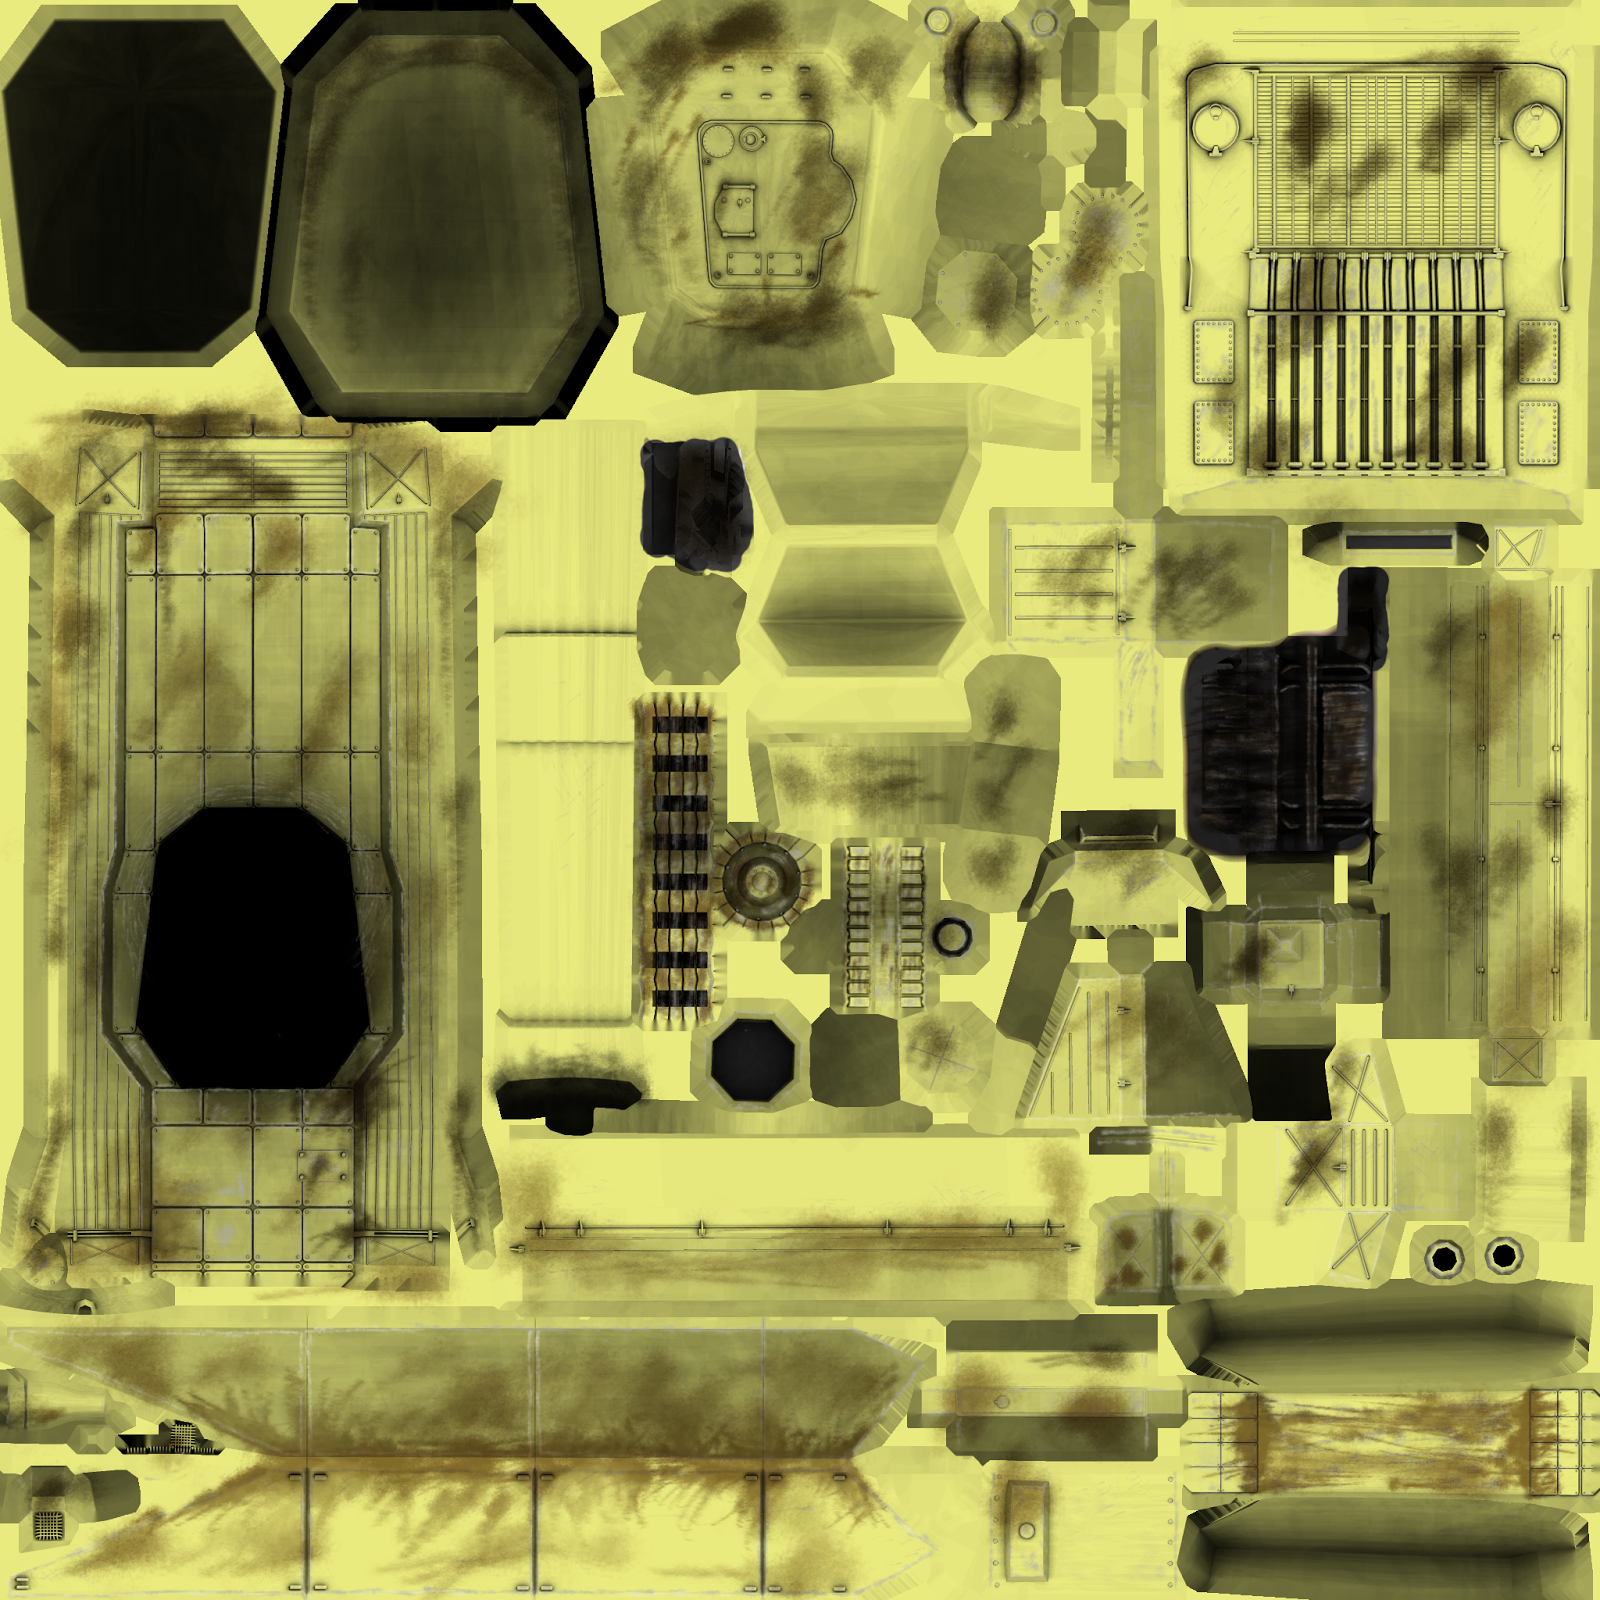 |
| Diffuse map, i've attempted to add paint scratches and dents to add to the realism, to make the tank look less factory fresh, also some smudgy black to make it look more gritty. |
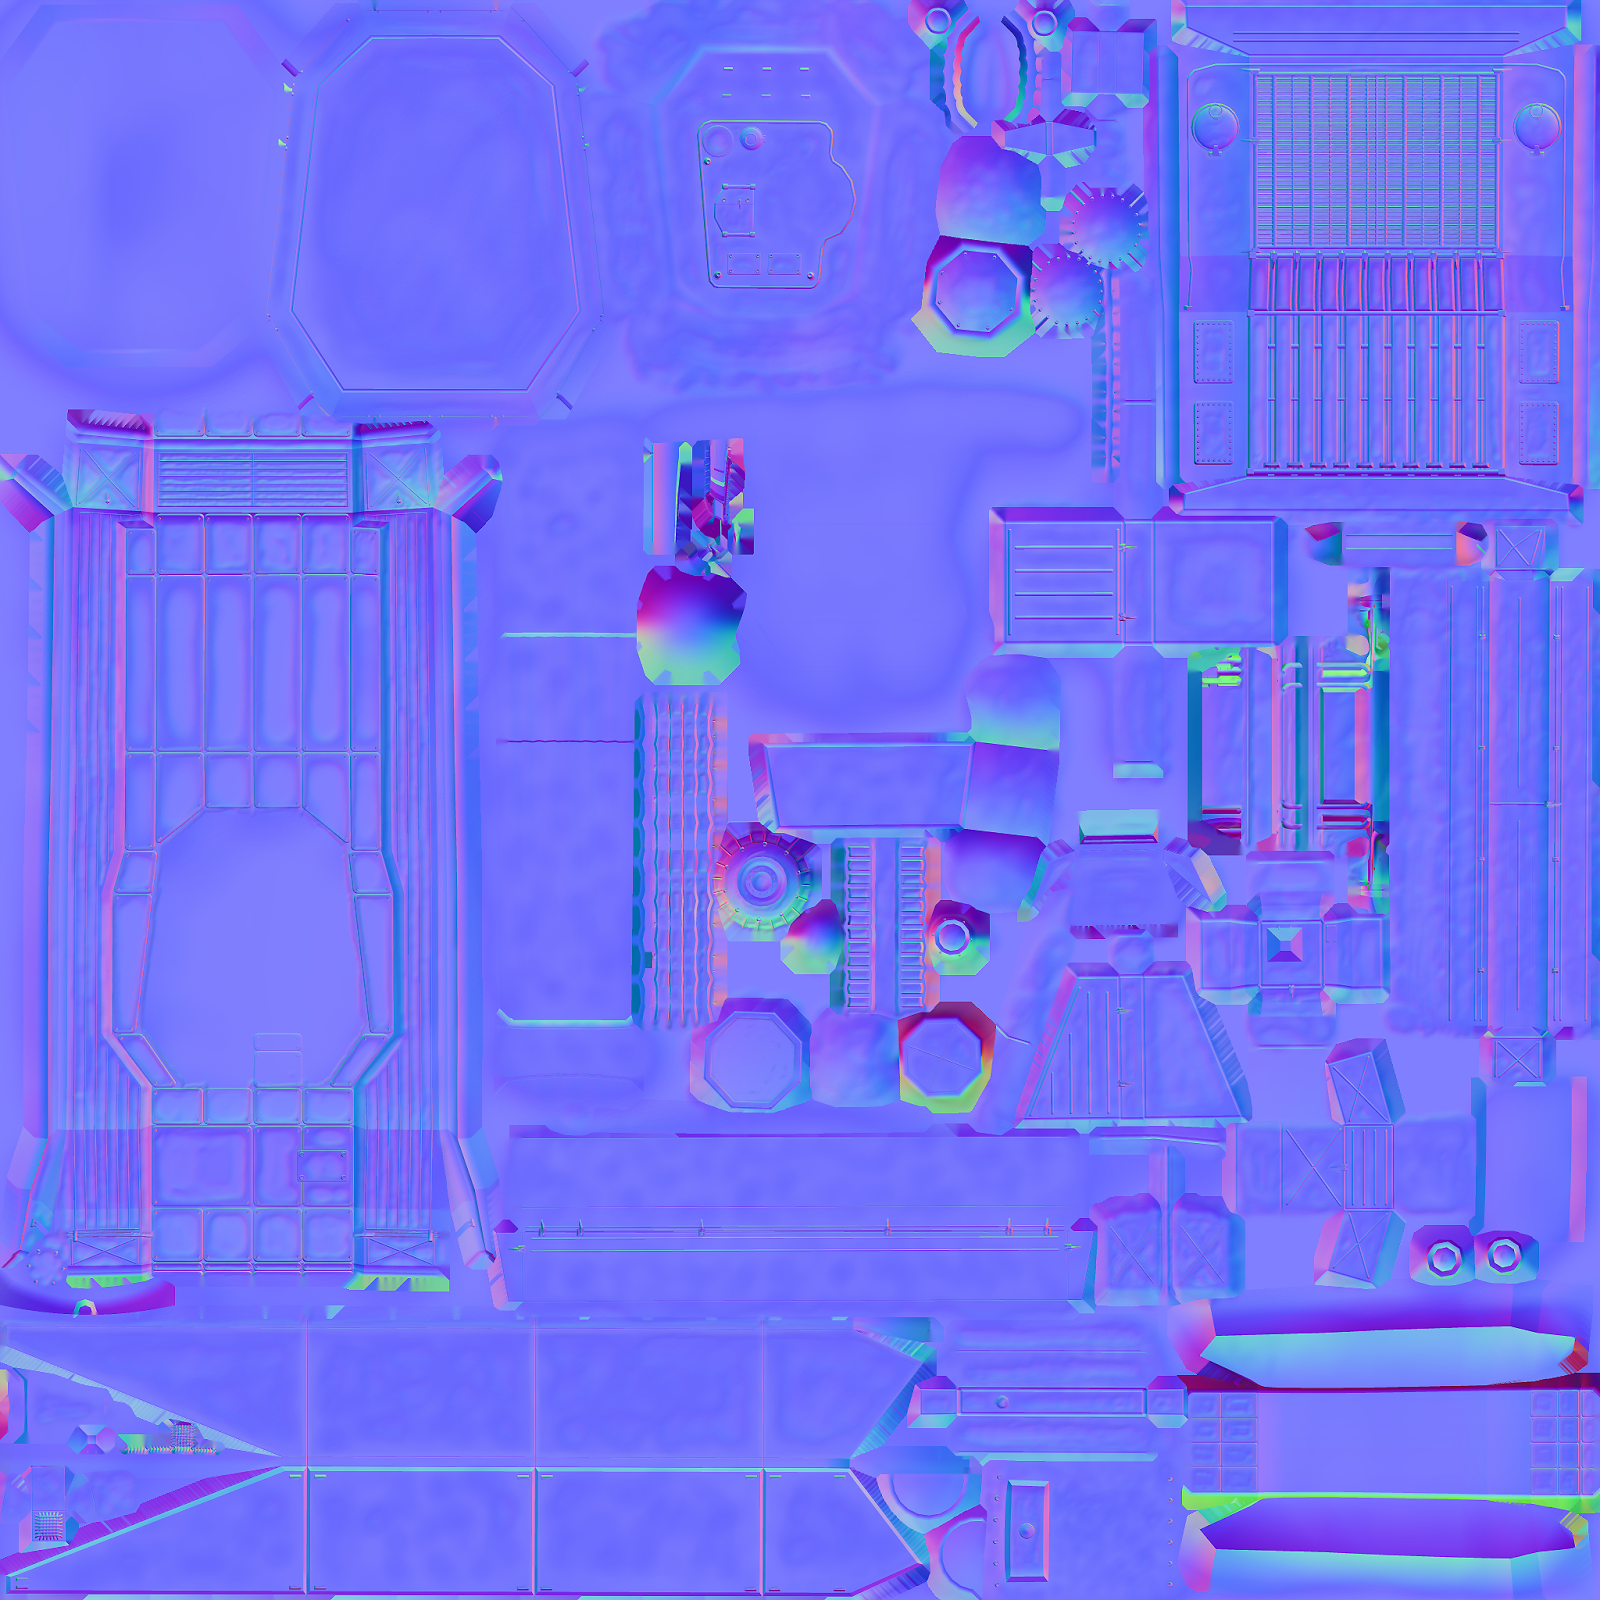 |
| Normal map, high poly baked with Xnormal, then features added in photoshop which are then normalized via the nvidia plugin. |
 |
| Important, the Specular map, this is where the different imitated materials really show their composition |
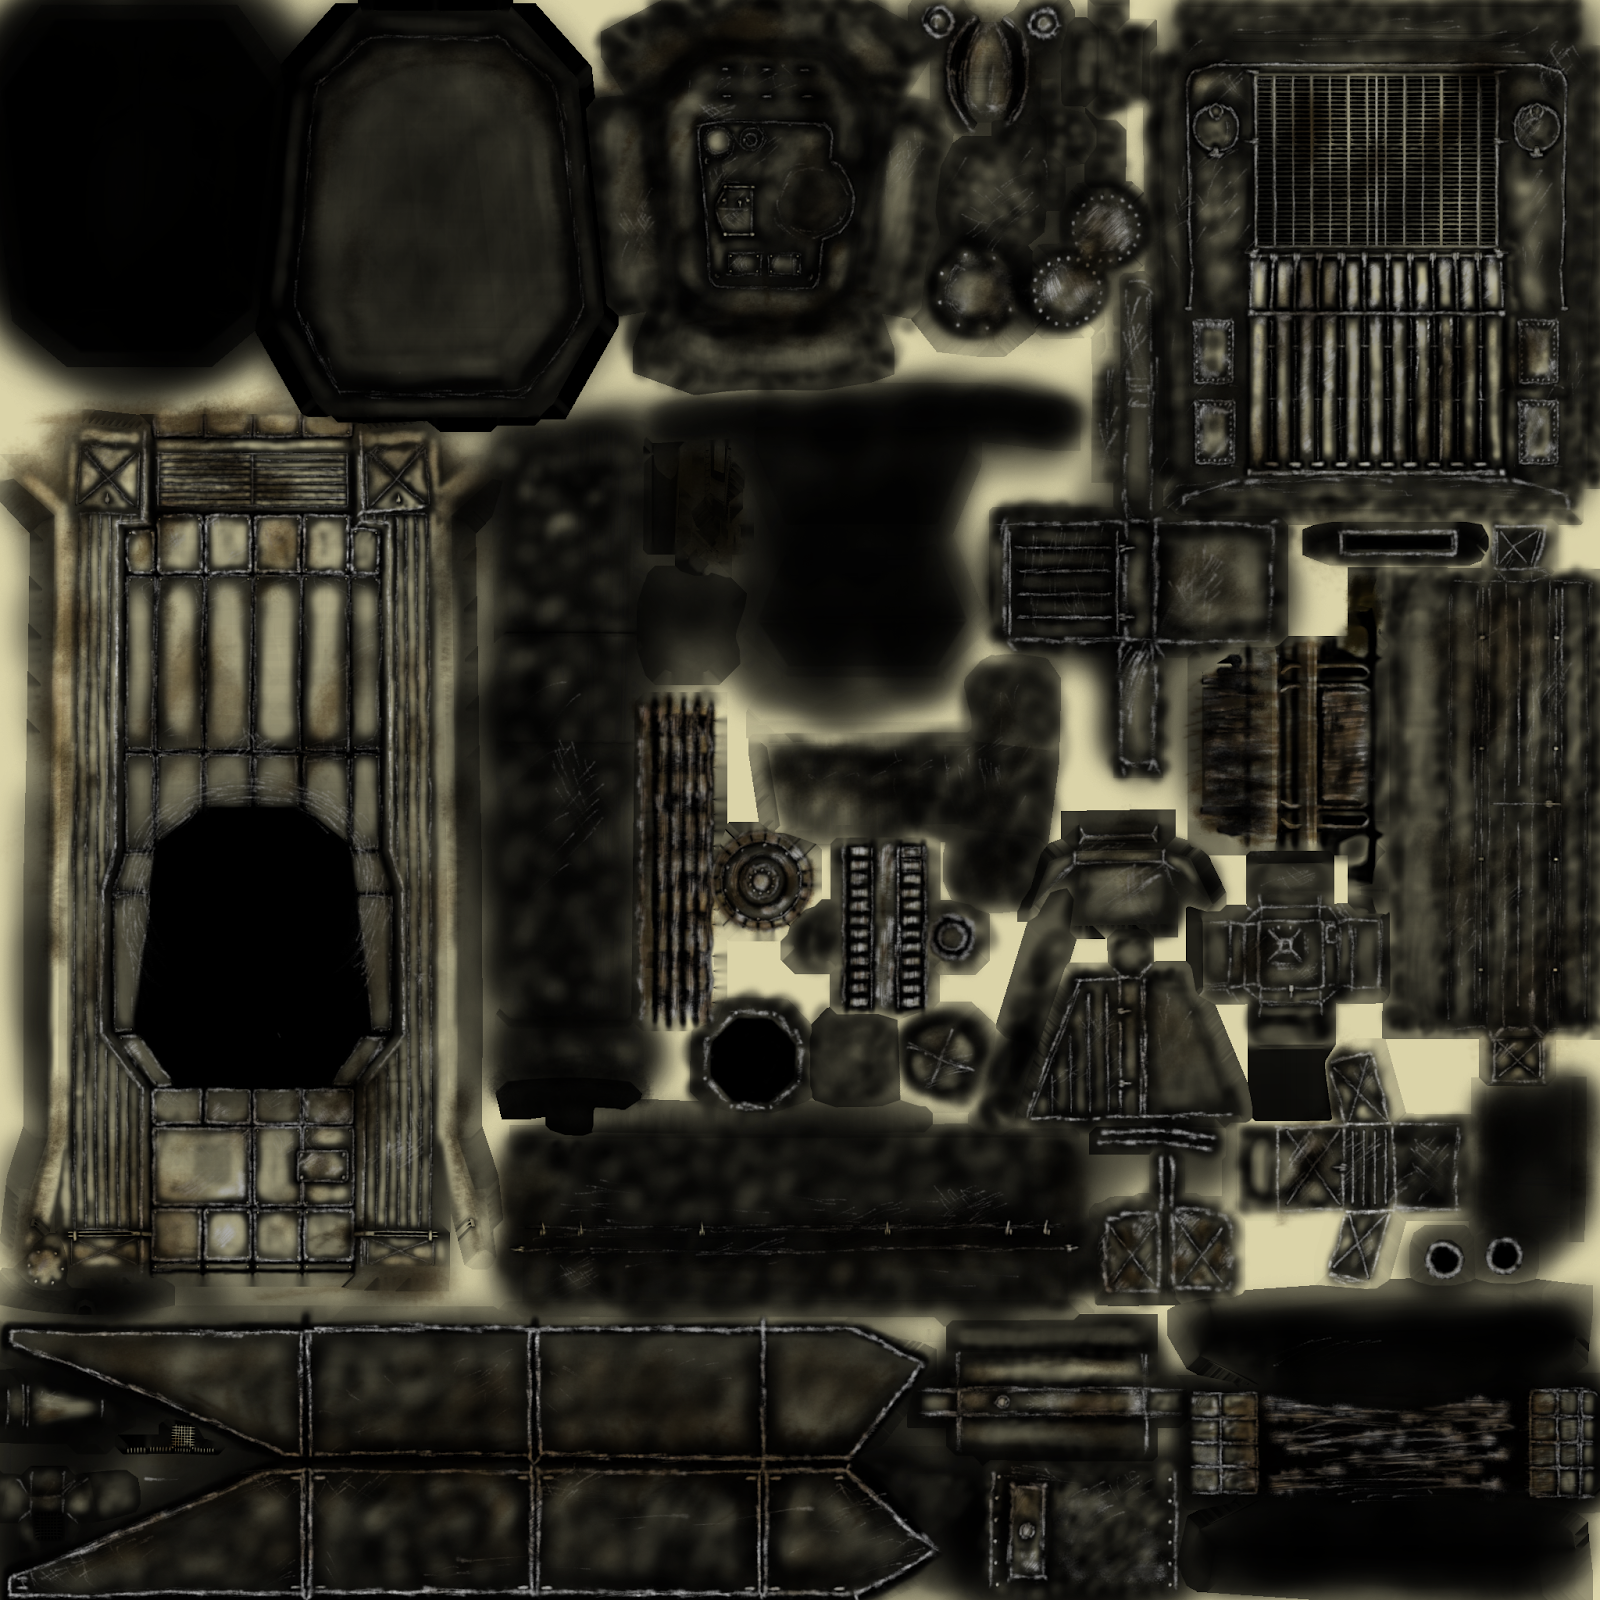
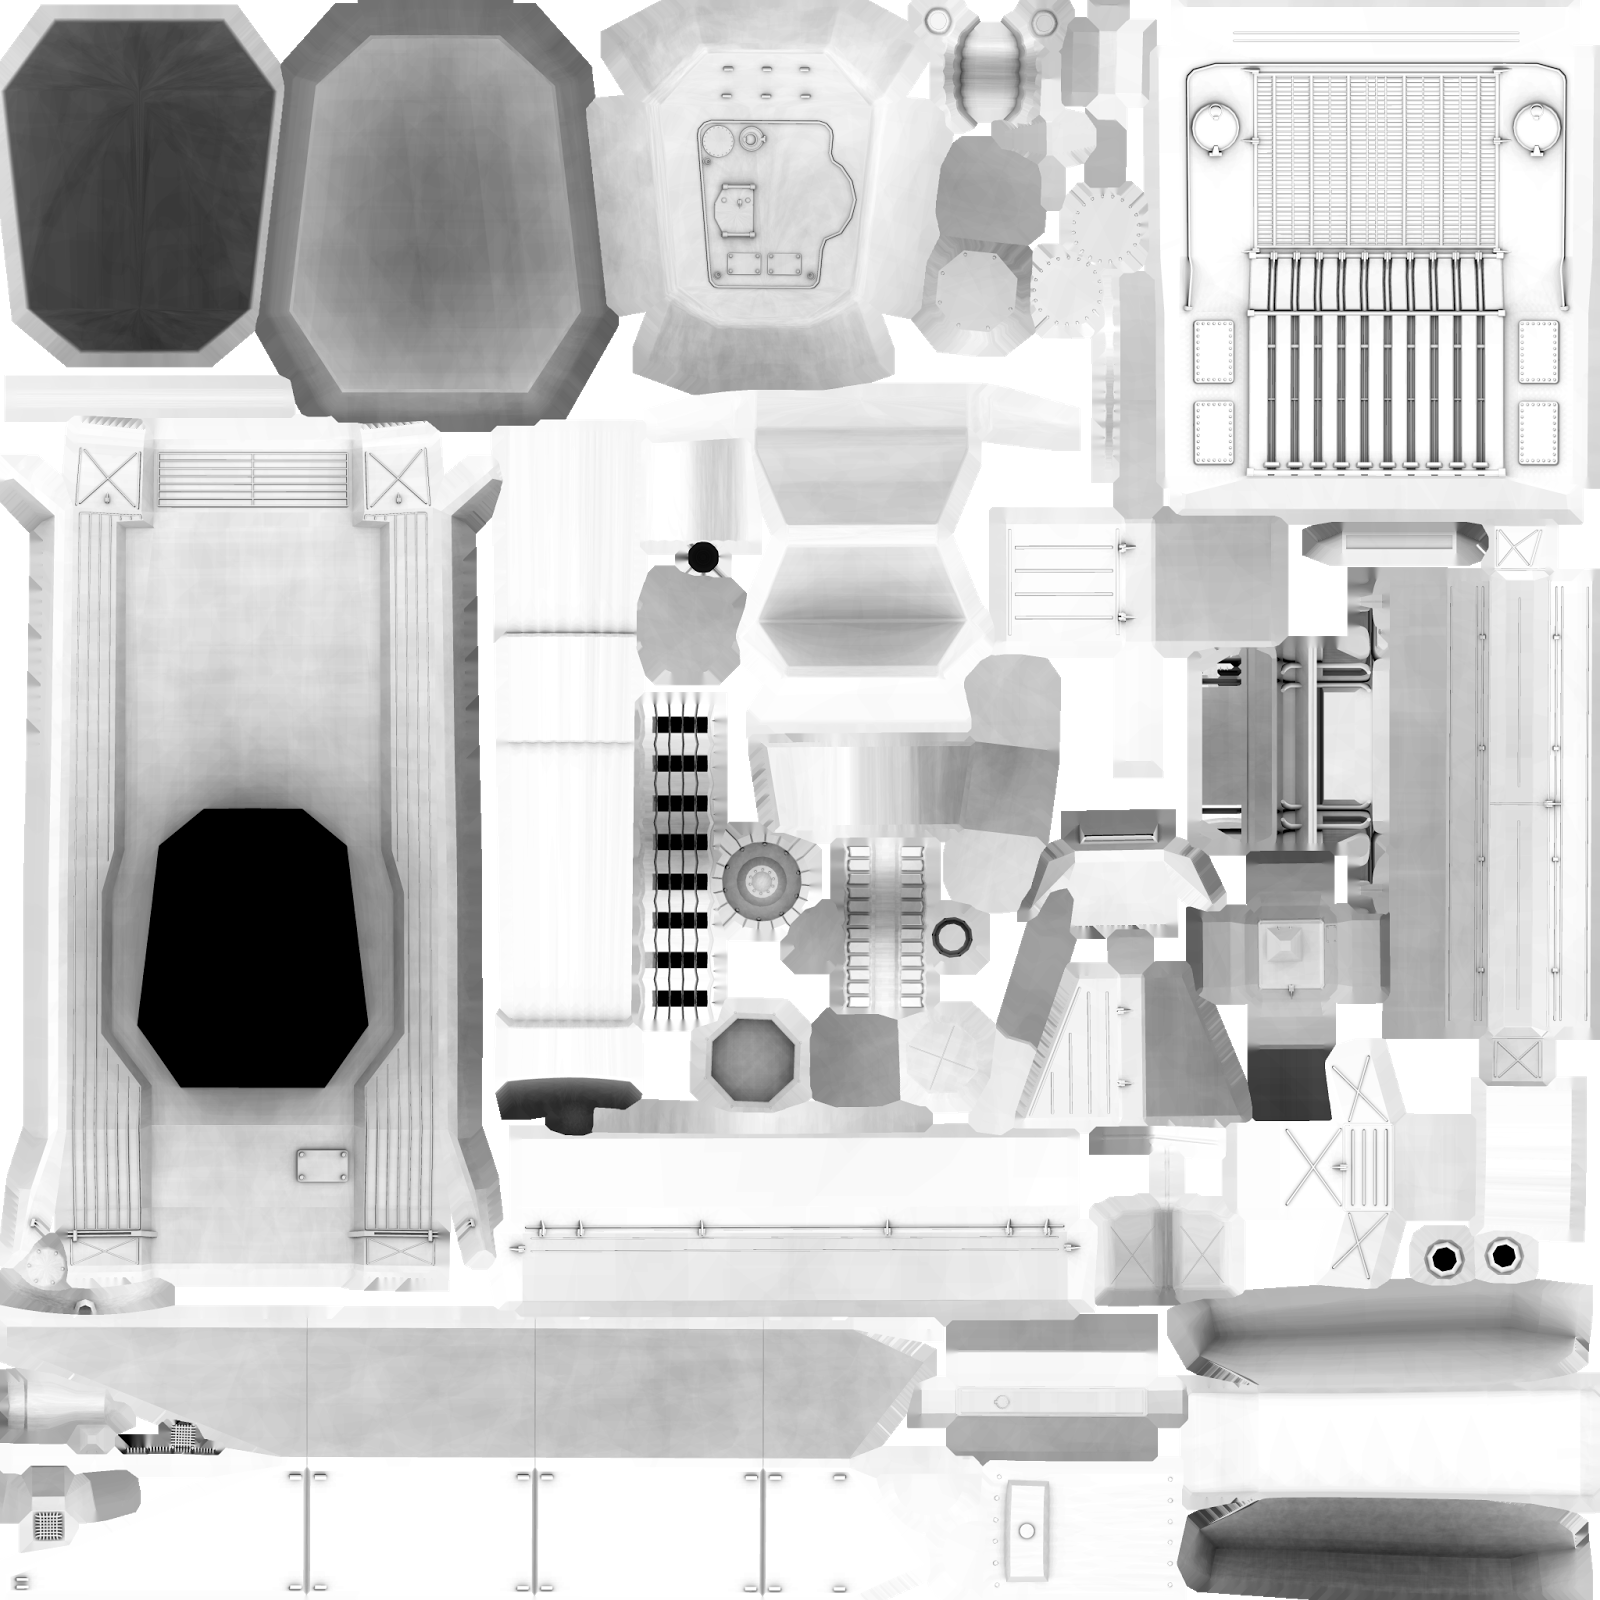 |
| Ambient Occlusion map, baked from high poly in Xnormal, the basis of the specular and diffuse maps. |
Subscribe to:
Posts (Atom)